
How to Strip & Remove Old Woodchip Wallpaper Like a Pro
Do you have an old woodchip wallpaper in your home that needs to be removed? If so, this blog post is here to help! As an interior designer with decades of experience, I’m going to share my best tips and tricks for stripping away dated woodchip wallpaper. We will go through all of the steps needed how to properly remove the layers of paper that are stuck onto the wall by using certain tools and techniques.
By following our instructions closely, you will be successful in removing your unwanted wooden wallcovering without damaging any other surfaces or walls in your house. Let’s get started!
Understanding woodchip wallpaper: what is it?
Woodchip wallpaper is one of the oldest styles of wall coverings still in use today. Often referred to as “stucco” or “cottage” wallpaper due to its popular use throughout the mid-twentieth century in many homes, woodchip wallpaper consists of small pieces of wood fibre embedded into a background paper. It often comes in floral and textural designs and can make an interesting feature wall. If you have wood chip wallpaper and wish to remove it, it’s important to know how to strip it properly so that you don’t damage your walls.

How to remove woodchip wallpaper
1. Preparing for the stripping process
First, you’ll need to prepare for the wallpaper removal process. So make sure to lay down dust sheets on the floor and furniture in the room where you will be stripping your wallpaper. You should also remove any pictures from walls as these can easily become damaged during the process.
2. Choosing the appropriate stripping products
Remove woodchip wallpaper quickly and efficiently with products specifically made for the purpose; these are readily available at most DIY shops and can help prevent your wall surfaces from being harmed by unsuitable or abrasive cleaning materials. Some options to consider include gels, liquids, or aerosol sprays that slowly remove layers of paper while keeping your walls free from damage.
3. Applying the stripper to the wall
Applying the stripper to the wall is just one step in the process and can be quite messy. It’s important to use as much stripper as needed in order to penetrate the paper layers, removing them without causing damage to the underlying surface. Once you have finished applying the stripper, it’s crucial to let it sit for long enough; depending on how thick your layer of paper is, this could be anywhere from 5 minutes to almost an hour.
4. Scraping away the removal solution and old wallpaper
Once the stripper has had time to work its magic, it’s finally time to start scraping away the removal solution and old wallpaper. To do this, you will need a specialised wallpaper scraper; these are available from most hardware stores. A wallpaper steamer can also help to further loosen the paper layers, allowing you to easily remove them with minimal effort.
5. Drying and sanding the surface
Once you have finished scraping the wallpaper from the wall, it’s time to dry and sand the surface. Use a dust sheet to cover the floor beneath you, then wipe down any remaining paste with a cloth soaked in soapy water. Next, use fine-grit sandpaper or an electric sander to smooth out any rough patches that may have been left behind.
6. Applying a primer ready for wallpaper or paint
After you have finished sanding, the walls should be ready for a fresh layer of paper or paint. Apply a primer to any areas that are particularly absorbent, and then use wallpaper paste or adhesive to apply a new layer of wallpaper. Alternatively, if you choose to go with paint instead of wallpaper, make sure your chosen paint is suitable for
7. Consider health and safety hazards during the process
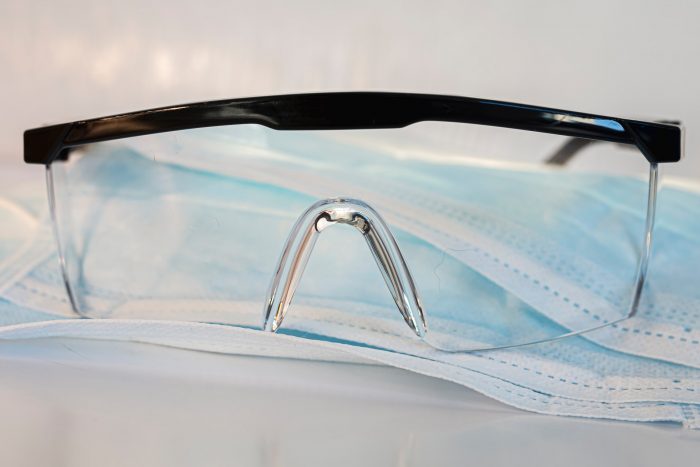
It’s important to ensure you take the necessary health and safety precautions when stripping woodchip wallpaper. Make sure to wear chemical-resistant gloves, goggles, and a face mask to avoid inhaling any harmful particles from the products used. Similarly, it’s wise to keep an eye out for sharp edges on any pieces of old paper that may remain. With these steps in mind, you can be sure that you are working safely and efficiently.
8. Disposing of the removed wallpaper
Once you have completed the stripping process, it’s time to dispose of the removed woodchip wallpaper. If your local area offers paper recycling services, make sure to check these out and recycle any pieces that are in good condition. Otherwise, double-bag the old paper and throw it away responsibly. Make sure to also wipe down surfaces with a damp cloth to remove any leftover paste or wallpaper residue.
9. Finishing up with smooth, clean walls
Once you have completed all the above steps, you can finally enjoy the results of your hard work: smooth, clean walls! If you followed these instructions carefully and used the right products for the job, you should be left with a great-looking result. Now all you need to do is decide what type of wallpaper or paint to apply – the possibilities are endless!
In conclusion…
Removing woodchip wallpaper can be a difficult and time-consuming process, but with the right tools and some patience, you can get great results in no time. By following these simple steps, you can easily strip away old paper layers, leaving behind smooth surfaces that are perfect for new wallpaper or paint. Good luck!
Ready to replace your old woodchip wallpaper with something new? We stock a huge range of high-quality wallpapers, with free delivery on orders over £49. Alternatively, read more of our design and how-to guides on the 1ClickWallpapers blog:
- Embrace Boho Design With These 8 Stunning Wall Decor Ideas
- 12 Steps to an Art Deco Living Space
- Can You Recycle Wallpaper?
Comments are closed here.